
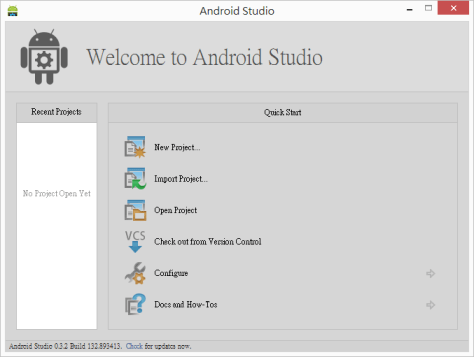
1. Download and install the Android Studio.
2. Create a new project.
3. The one i created is called RestaurantCheckIn.
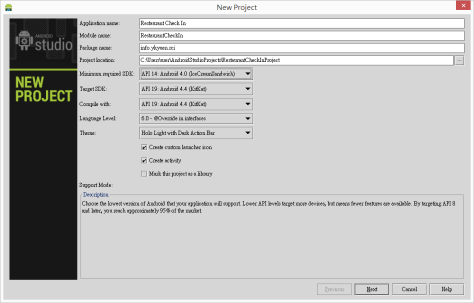
4. Pick a Blank Activity.

5. Let’s just use the default Activity without Navigation type. Although in the following picture i picked a Navigation Drawer, it has nothing to do with our example.

6. Your first Android Studio project is ready.

7. Next, download the Facebook Android SDK 3.x. The one i used is facebook-android-sdk-3.6.0. Extract the archive and copy the facebook folder to your Android Studio project. In my case, the path is \AndroidStudioProjects\RestaurantCheckInProject\libraries\facebook. Now you should have the following hierarchy in your project.

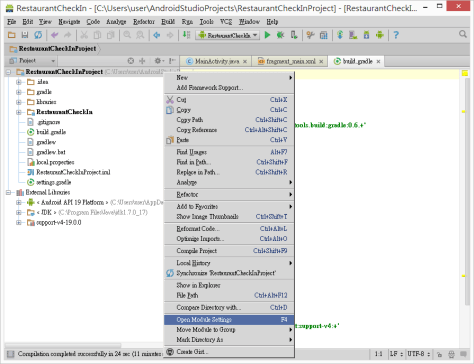
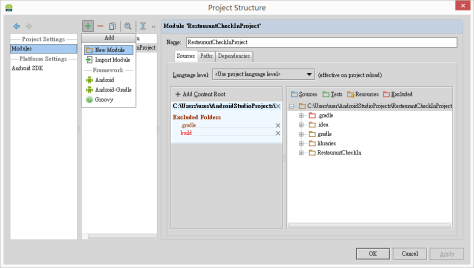
8. Right click your project and click Open Module Settings.
9. Now you can see your Project Structure.
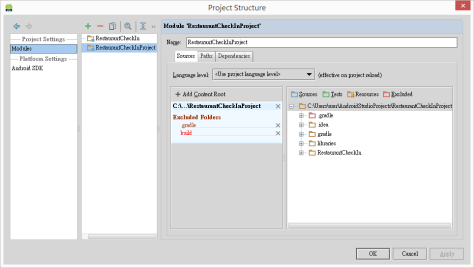
10. Select Module of the left nav bar and click the green plus button. Then select Import Module.
11. Choose the libraries/facebook and click OK.

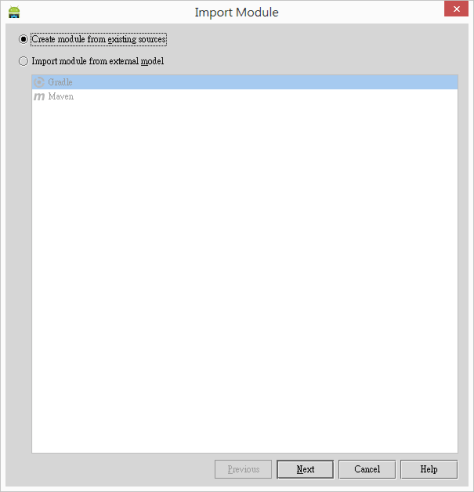
12. Select Create module from existing sources.
13. Just use the default for the subsequent pages and keep clicking OK. Now you should have the Project Structure like this.
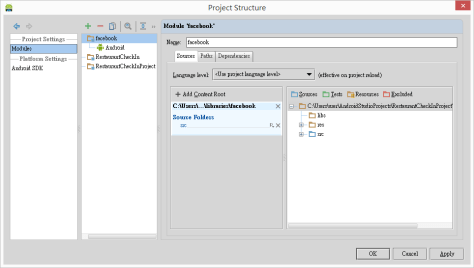
14. On the Sources tab, right click the res folder and set it as Sources.

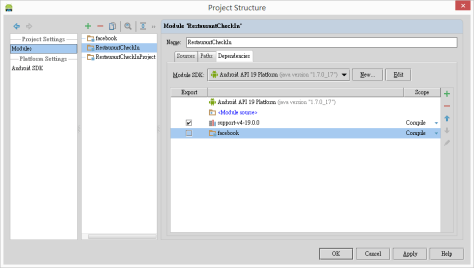
15. Select your project (RestaurantCheckIn in my case) and select the Dependencies tab. Click the green plus button and choose Module Dependency.

16. Pick the facebook module and make sure the scope level is set to Compile.
17. Edit the settings.gradle and add ‘:libraries:facebook’ just before your project.
include ':libraries:facebook', ':<Project Name>'
18. Add the facebook module dependency in your build.gradle. In my case that is the build.gradle under RestaurantCheckIn. You should end up sth like this.
buildscript {
  repositories {
    mavenCentral()
  }
  dependencies {
    classpath 'com.android.tools.build:gradle:0.6.+'
  }
}

apply plugin: 'android'

repositories {
  mavenCentral()
}

android {
  compileSdkVersion 19
  buildToolsVersion "19.0.0"

  defaultConfig {
    minSdkVersion 14
    targetSdkVersion 19
  }
}

dependencies {
  compile 'com.android.support:support-v4:+'
  compile project(':libraries:facebook')
}
19. Edit the build.gradle @ /libraries/facebook/build.gradle. For the classpath, just make it the same as the one you define in your project build.gradle.
buildscript {
  repositories {
    maven { url 'http://repo1.maven.org/maven2' }
  }
  dependencies {
    classpath 'com.android.tools.build:gradle:0.6.+'
  }
}

apply plugin: 'android-library'

dependencies {
  compile 'com.android.support:support-v4:13.0.+'
}

android {
  compileSdkVersion 19
  buildToolsVersion "19"

  defaultConfig {
    minSdkVersion 8
    targetSdkVersion 19
  }

  sourceSets {
    main {
      manifest.srcFile 'AndroidManifest.xml'
      java.srcDirs = ['src']
      res.srcDirs = ['res']
    }
  }
}
20. The import is done. Next we need to configuration the application to demonstrate that it works with the Facebook API. First, edit the <project>/src/main/AndroidManifest.xml.
<?xml version="1.0" encoding="utf-8"?>
<manifest xmlns:android="http://schemas.android.com/apk/res/android"
  package="info.ykyuen.rci"
  android:versionCode="1"
  android:versionName="1.0" >

  <uses-sdk
    android:minSdkVersion="14"
    android:targetSdkVersion="19" />

  <application
    android:allowBackup="true"
    android:icon="@drawable/ic_launcher"
    android:label="@string/app_name"
    android:theme="@style/AppTheme" >
    <activity
      android:name="info.ykyuen.rci.MainActivity"
      android:label="@string/app_name" >
      <intent-filter>
        <action android:name="android.intent.action.MAIN" />

        <category android:name="android.intent.category.LAUNCHER" />
      </intent-filter>
    </activity>
  </application>
  <uses-permission android:name="android.permission.INTERNET"/>
</manifest>
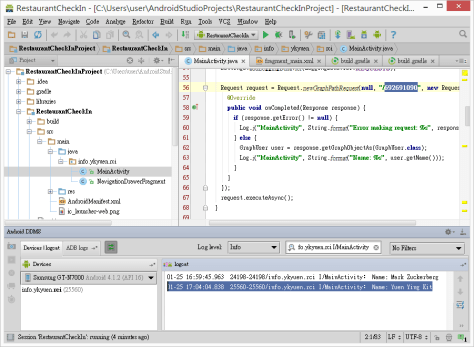
21. Add the following piece of code in the onCreate function inside MainActivity.java. Don’t forget to import the require classes.
Settings.addLoggingBehavior(LoggingBehavior.INCLUDE_ACCESS_TOKENS);
Settings.addLoggingBehavior(LoggingBehavior.REQUESTS);

Request request = Request.newGraphPathRequest(null, "/4", new Request.Callback() {
  @Override
  public void onCompleted(Response response) {
    if (response.getError() != null) {
      Log.i("MainActivity", String.format("Error making request: %s", response.getError()));
    } else {
      GraphUser user = response.getGraphObjectAs(GraphUser.class);
      Log.i("MainActivity", String.format("Name: %s", user.getName()));
    }
  }
});
request.executeAsync();
22. Run the application and filter the log, you should be able to get the name of the user with id = 4 which is what we set in Request.newGraphPathRequest above. And that is Mark Zuckerberg. In the following screenshot, i updated the user id so i can get my name from Facebook.
Wow, i think this is the longest post i have on Eureka!. haha~
Done =)
Reference: Facebook Developers – Getting Started with the Facebook SDK for Android (Android Studio)

